The Boat Docker Training

The following articles provide all of the information you need to know in order to operate The Boat Docker simulator.

Raising the Next Generation of Boaters, One Dock at a Time

Docking is the moment every new boater dreads. It’s the part of boating you can’t really learn from a manual, and the part where a bad day plays out in front of an audience at the marina. Most people’s first real practice happens with a rental full of strangers watching. That’s backwards, and it’s exactly the gap **The Boat Docker** is built to close.

The Boat Docker is a free, browser-based docking simulator — no install, no account, just open it and go. It puts you behind a full instrument panel: separate or integrated engine controls, a real multi-turn rudder wheel, bow and stern thrusters, and the wind and current working against you the whole time. Nine scenarios, from calm North- and South-facing docks to mooring buoys, a moving boat crossing your lane, and a man-overboard rescue, let a new boater build the instincts that usually only come from expensive, high-pressure time on the water.

Every attempt is scored automatically, from line placement and tautness to how clean the approach was and whether you kept it collision-free, with bonus points for pulling it off in real wind and current. It’s the kind of repetition — try, fault, adjust, try again — that turns “I think I can dock this thing” into knowing it.

We built The Boat Docker because the next generation of boaters deserves better than trial-by-error at the fuel dock. Practice the hard part first, on your own screen, as many times as it takes. Then go dock it for real.

**Try it free — no download required.**

Please email your questions or comments to theboatdocker@gmail.com

Happy Boating!


Think You’d Pass? Try The Driver Tester

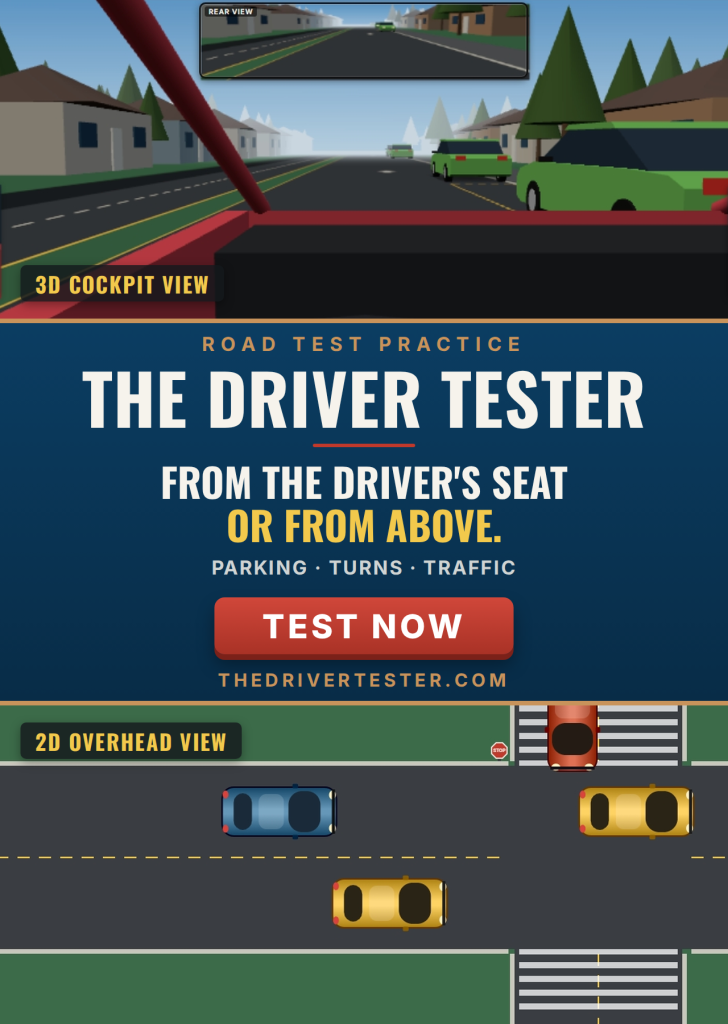
Everyone remembers their road test — especially the parallel parking. The Driver Tester is our newest simulator, built to let you practice the maneuvers an examiner actually grades before you’re sitting in the car for real.

The first scenario live is Parallel Parking, with Three-Point Turn, Driving in Traffic, and Left Turns in Traffic coming soon. Before you start, pick your vehicle: a Small Car, an SUV, or a Small Pickup. This isn’t cosmetic — each one has its own length, width, and wheelbase, so a bigger rig genuinely turns wider and makes the same curbside space harder to hit.

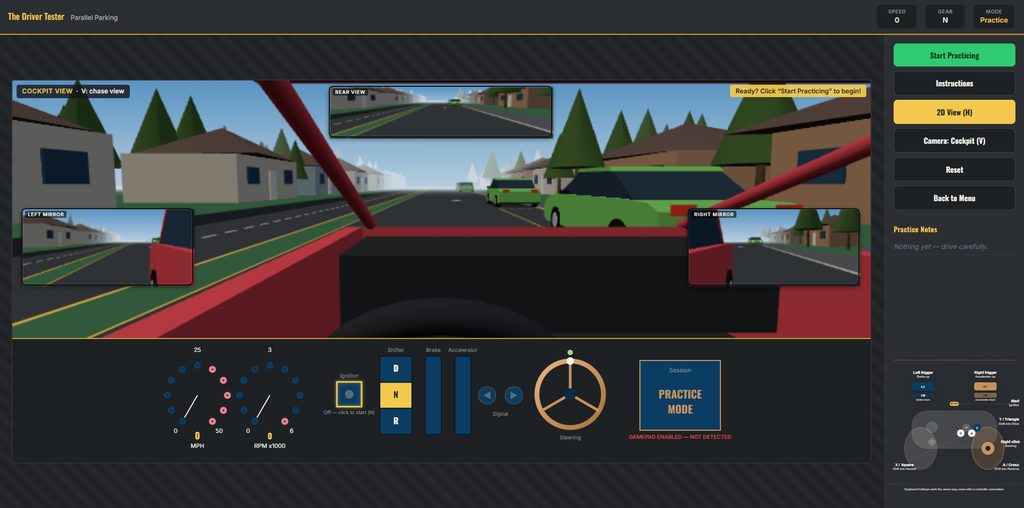
Once you’re behind the wheel, it’s a full instrument cluster, not just an on/off toggle. Turn the ignition and let the engine settle to idle, then shift into D, N, or R — try it too early or above 1,500 RPM and the dashboard warns you instead of grinding the gears. Steer with a three-turn, lock-to-lock wheel, and work the pedals for proportional gas and brake, just like a real car.

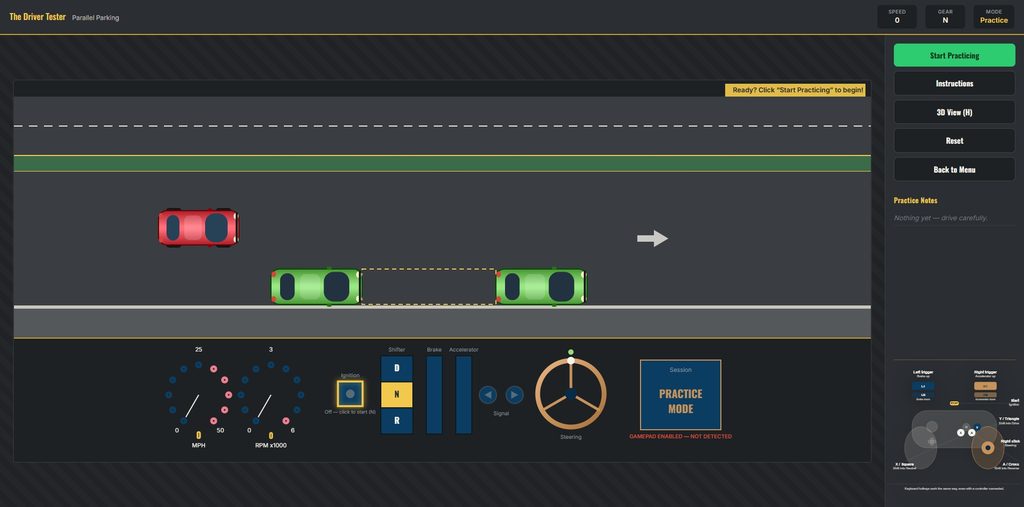
Reverse into the marked space between two parked cars, and the scoring engine grades you like an examiner would: up to 40 points for parking fully within the space, plus points for alignment, distance from the curb, and keeping your pull-ups to a minimum. Clip a parked car or the curb and you’ll shed points fast. You’ve got five minutes and need 70 out of 100 to pass.

Think you’ve still got it? Pick your vehicle and find out.

How Scoring Works in The Driver Tester

The Driver Tester grades every attempt out of 100 points, and you need 70 to pass — same threshold across all four scenarios: Parallel Parking, Three-Point Turn, Turns in Traffic, and Driving in Traffic. Here’s exactly how that number gets built.

The basic idea: faults live, bonuses at the end

Every attempt runs on the same scoring engine under the hood, and it works in two passes:

Faults get deducted the moment you make them. Clip a curb, hit a parked car, run a stop sign’s cross-traffic zone — the points come off immediately and show up in your fault log in real time, so you always know where you stand.

Bonuses get awarded once, when you finish. Things like parking cleanly in the space, centering yourself in your lane, or judging a gap well are only scored when you click “Grade My Attempt” (or the clock runs out), because they’re about your final result, not something that fluctuates tick by tick.

Your live score is just faults subtracted as they happen; your final score adds in every bonus on top of that, floored at 0.

Each scenario follows the same four-category shape for its bonuses — completion, precision, positioning, and efficiency — just re-keyed to whatever that maneuver actually tests. Here’s the breakdown for each one.

Parallel Parking

Reverse into a curbside space between two parked cars.

  • +40 — parked fully within the marked space, with no faults active
  • +20 / +10 — aligned parallel to the curb, within 8° / within 18°
  • +20 / +10 — good / acceptable distance from the curb
  • +20 / +10 — did it in 3 or fewer / 5 or fewer direction changes (pull-ups)
  • −15 — each collision with a parked car
  • −10 — each curb strike, and each time you leave the roadway
  • −10 — if the clock runs out before you grade the attempt

Three-Point Turn

Reverse direction on a narrow residential street — deliberately too tight for any vehicle’s turning radius, so you genuinely have to reverse at least once.

  • +40 — ended up facing roughly the opposite direction (within 30° of a clean 180) and back on the road, no faults active
  • +20 / +10 — facing squarely / roughly the opposite direction (within 8° / 18° of exactly 180°)
  • +20 / +10 — ended well / reasonably centered in the lane, not hugging a curb
  • +20 / +10 — did it in 2 or fewer / 4 or fewer direction changes (2 or fewer is a textbook three-point turn: pull forward, reverse, pull forward again)
  • −15 — hitting the mailbox
  • −10 — each curb strike, either side
  • −10 — if the clock runs out before you grade the attempt

Turns in Traffic

Judge a safe gap in oncoming traffic and turn left at an intersection.

  • +40 — completed the turn facing roughly the right direction (within 30° of due north), landed in the cross street, and never collided with traffic, no faults active
  • +20 / +10 — facing squarely / roughly north once the turn is done (within 8° / 18°)
  • +20 / +10 — landed cleanly / reasonably close to centered in the correct lane of the cross street
  • +20 / +10 — took a safe (3.0+ seconds) / workable (1.5+ seconds) gap in oncoming traffic, judged the instant you cross the centerline
  • −40 — colliding with an oncoming car (this immediately ends and grades the attempt, and caps the result as a fail regardless of your point total)
  • −10 — leaving the roadway
  • −10 — if the clock runs out before you grade the attempt

Driving in Traffic

A continuous drive rather than a single maneuver — merge, keep your distance, and hold your lane.

  • +40 — completed the drive without a serious incident (no collision, never off the roadway) at the moment it’s graded
  • +20 / +10 — stayed centered / mostly steady in your lane on average over the whole drive
  • +20 / +10 — kept a clean / mostly-clean following distance — zero, or 2 or fewer, tailgating faults logged
  • +20 / +10 — covered a full / half loop of the road (the higher tier requires the road’s infinite wraparound to have fired at least once)
  • −40 — colliding with another car (immediately ends and grades the attempt, capped as a fail)
  • −15 — colliding with the stopped car waiting at the cross street’s stop sign
  • −10 — leaving the roadway
  • −10 — following too closely (cooldown-gated, so continuous tailgating only logs once every few seconds rather than every tick)

Unlike the other three scenarios, running out the clock here is not a fault — it’s the expected way a long drive ends. Grading kicks in automatically the moment the timer hits zero, with whatever score you’d earned up to that point.

A couple of things worth knowing

Repeated continuous contact — sitting on a curb, leaning on a parked car — doesn’t spam your fault log every tick. Each fault type is cooldown-gated so it only logs once per genuine new mistake.

The two traffic scenarios both have a hard-fail override: colliding with a moving car ends your attempt immediately and caps your result as a fail no matter what your point total would otherwise be. Every other fault just costs points — it never disqualifies you on its own.

Mastered the Dock? Try Drag racing

Green Light, Full Send: Racing The Drag Car Racer

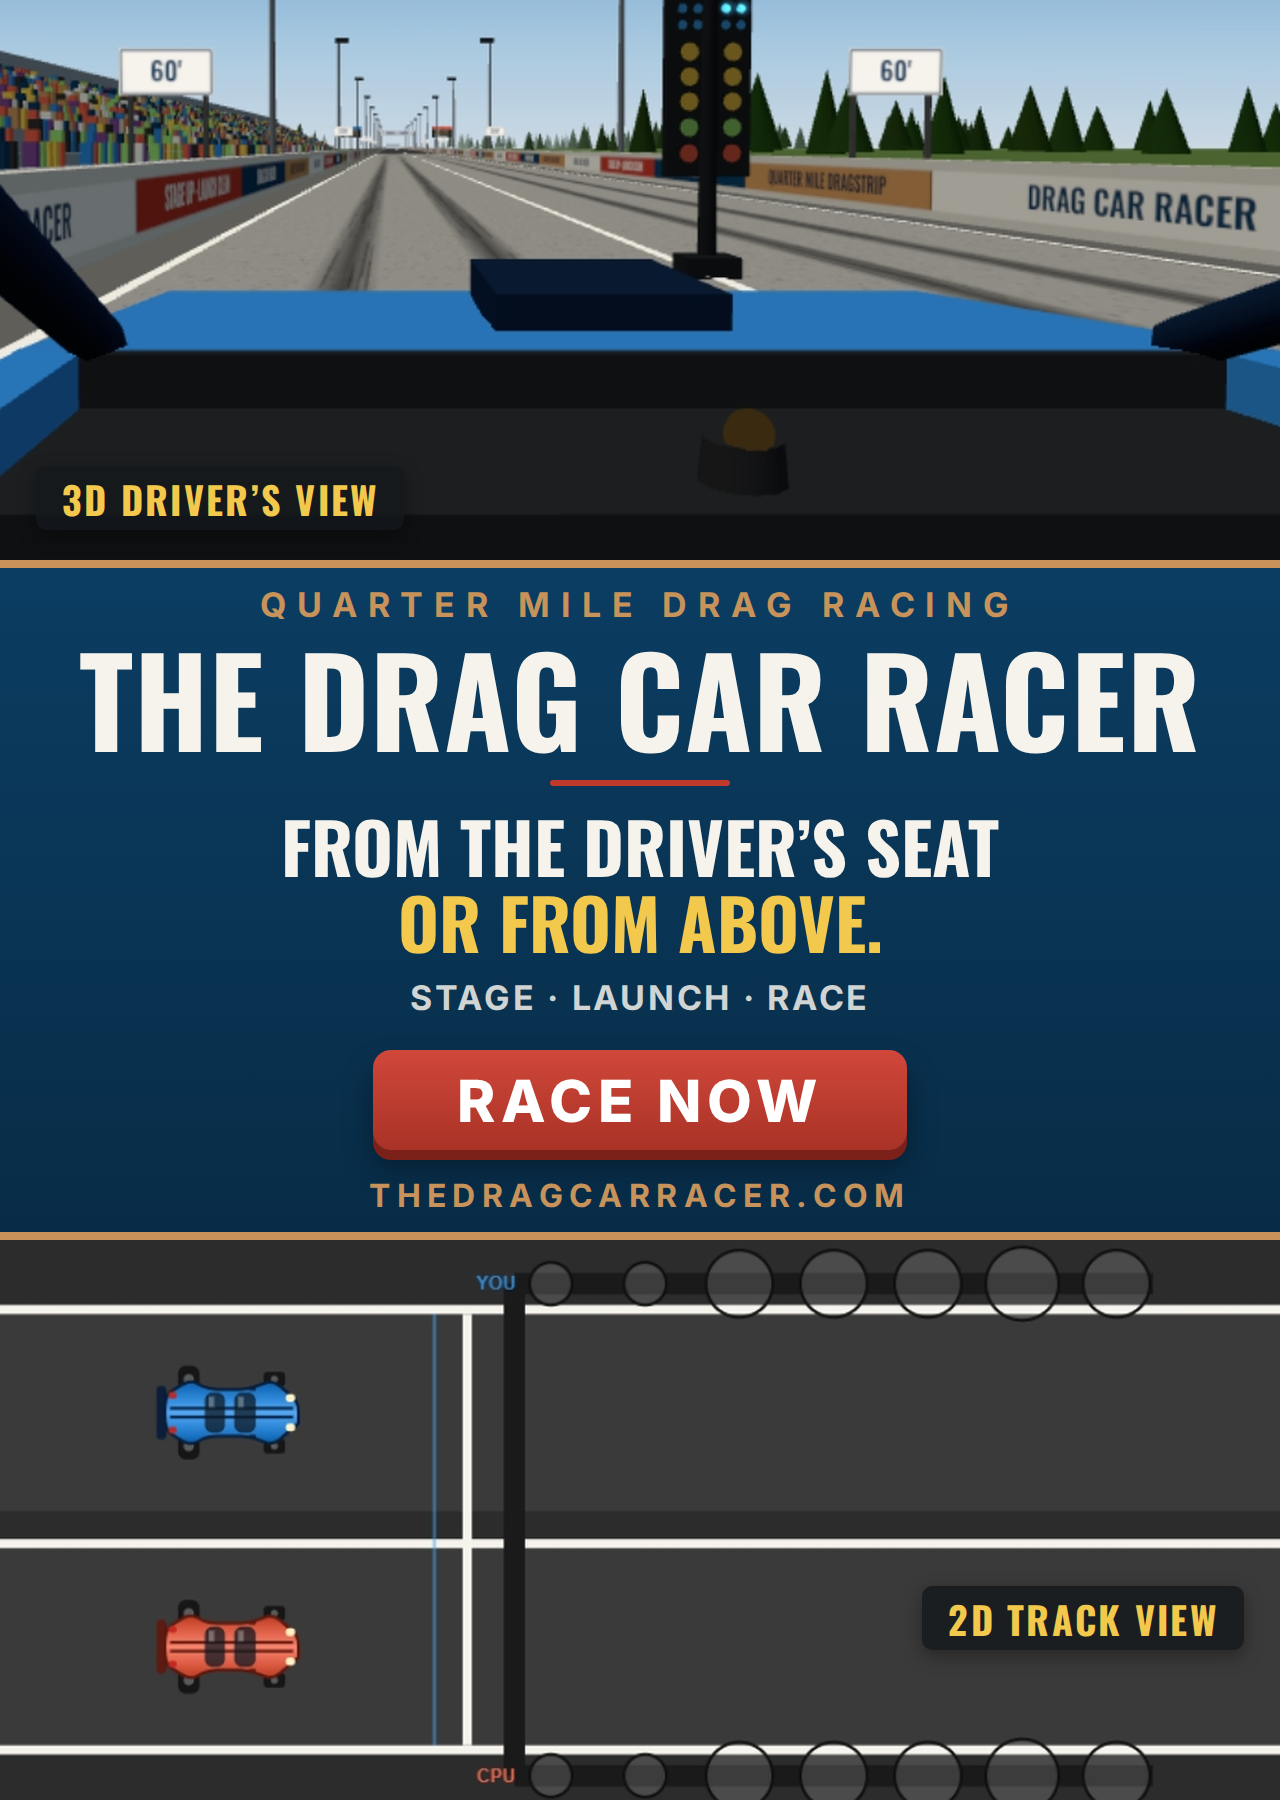
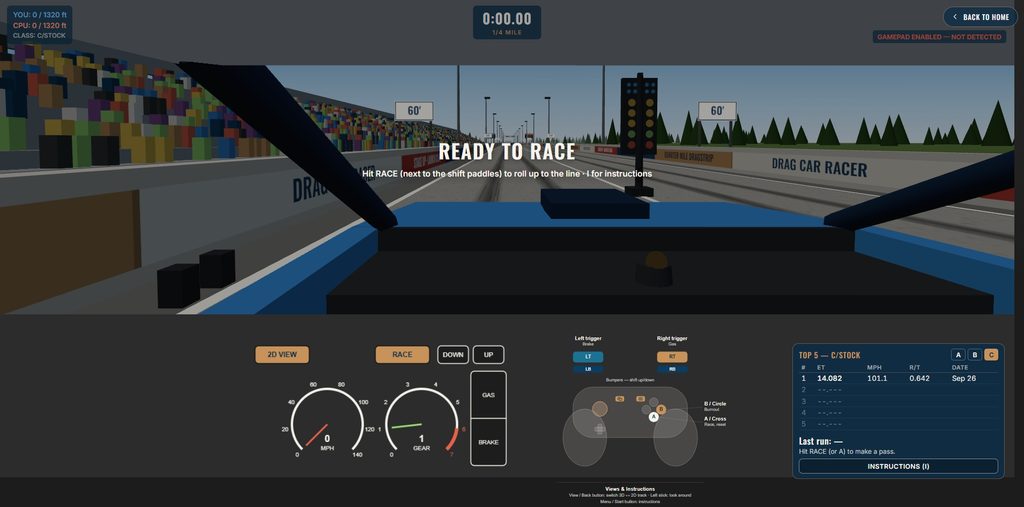
There’s nothing quite like the moment the Christmas tree flashes green — and nothing quite as embarrassing as red-lighting before it does. The Drag Car Racer, our newest simulator, puts you on a real quarter-mile strip, lined up against the CPU, with nothing between you and bragging rights but a clean launch and a well-timed shift.

Start by picking your class. Vehicles are bracketed by power-to-weight, the same way real NHRA Stock subclasses work: A/Stock is the quickest, C/Stock the most forgiving, with B/Stock splitting the difference. Lighter pounds-per-horsepower means a faster car — and a harder car to launch clean.

Staging is where races are won or lost. Roll forward carefully to light your pre-stage and stage bulbs, wait for your opponent to do the same, then hold your nerve through the ambers. Jump the green and it’s an automatic red-light foul — no time recorded, race over. Get a clean light and you’re free to work the 5-speed manual, paddle-shifting through the gears and watching the tach for that 5,300 RPM sweet spot, just shy of the 6,000 RPM redline. Feeling bold? Throw in a burnout before you stage for a launch-power bonus.

First car to cross the stripe at 1,320 feet wins, and your elapsed time posts straight to the track leaderboard. Keyboard, mouse, or a connected controller all work — full trigger, bumper, and button mapping included.

Think you can beat 12 seconds flat? Head to the strip and find out.

How Scoring Works on the Quarter Mile Dragstrip

The dragstrip breaks from every other scoring model on the site. Parallel Parking, the Three-Point Turn, and the Trailer Parker’s backing sessions all reduce your performance to a rubric — faults subtracted, bonuses added, a pass threshold to clear. The dragstrip throws that whole approach out. There’s no ScoringEngine, no point log, no 70-or-100-to-pass line. You get a stopwatch. Your score is your elapsed time from the green light to the stripe, recorded to the hundredth of a second, and the only thing to beat is the CPU in the other lane — or your own name further up the leaderboard.

No partial credit — a foul is all or nothing

Everywhere else, a mistake costs points but the attempt keeps going. Clip a curb mid-turn and you can still limp to a passing score. The dragstrip doesn’t work that way. Jump the light — throttle before the green, even by a hair — and the run ends immediately with no time recorded at all, full stop. It doesn’t matter how good your reaction time would have been; a red-light foul erases the run rather than docking it.

That same all-or-nothing rule extends to staging itself, in a nice bit of realism borrowed straight from NHRA rules: once your opponent has crossed a staging beam, you’ve got a fixed window (7 seconds) to cross it too, or it’s an automatic foul for taking too long. Dawdling on the way to the line is treated exactly like jumping it — both are just “foul,” with nothing recorded either way.

The burnout is a bonus with no downside

Most bonuses in these games reward something you had to do carefully — parking within tolerance, staying centered in a lane. The dragstrip’s one bonus mechanic breaks that pattern: a pre-stage burnout costs you nothing. It happens before the clock starts, so it doesn’t eat into your race time, and it hands you a fading power boost right at launch — a real advantage for the price of remembering to tap a button beforehand. There’s no version of “burnout gone wrong” that costs you anything; it’s pure upside, one per run.

The one place engine physics genuinely matters

Every other simulator on the site cares about position and heading. The dragstrip is the only one where the engine itself is part of the skill test. Shifting is tuned against a real torque/power curve rather than a flat one — torque peaks at 3,000 RPM, but power (the thing that actually determines acceleration) keeps climbing until 5,300, with the last 700 RPM to the 6,000 redline actually costing you output as the engine runs out of breath. Riding every gear all the way to the limiter, which feels like the “floor it” instinct, is provably the wrong move — short-shifting or redlining both leave time on the table, and the fastest runs live in that narrow band in between.

A quietly authentic classing system

The vehicle classes on the setup page — A/B/C-Stock — aren’t just difficulty labels. They’re built from real NHRA Stock subclass brackets, classed by power-to-weight in pounds per horsepower, with each class’s power scalar derived the same way real drag classing works: for a fixed weight, power is inversely proportional to lb/hp. It’s a level of real-world grounding none of the parking or turning scenarios attempt, tucked into what’s otherwise the most arcade-feeling minigame in the collection.

Mastered the Dock – Try Mastering the Trailer Parker

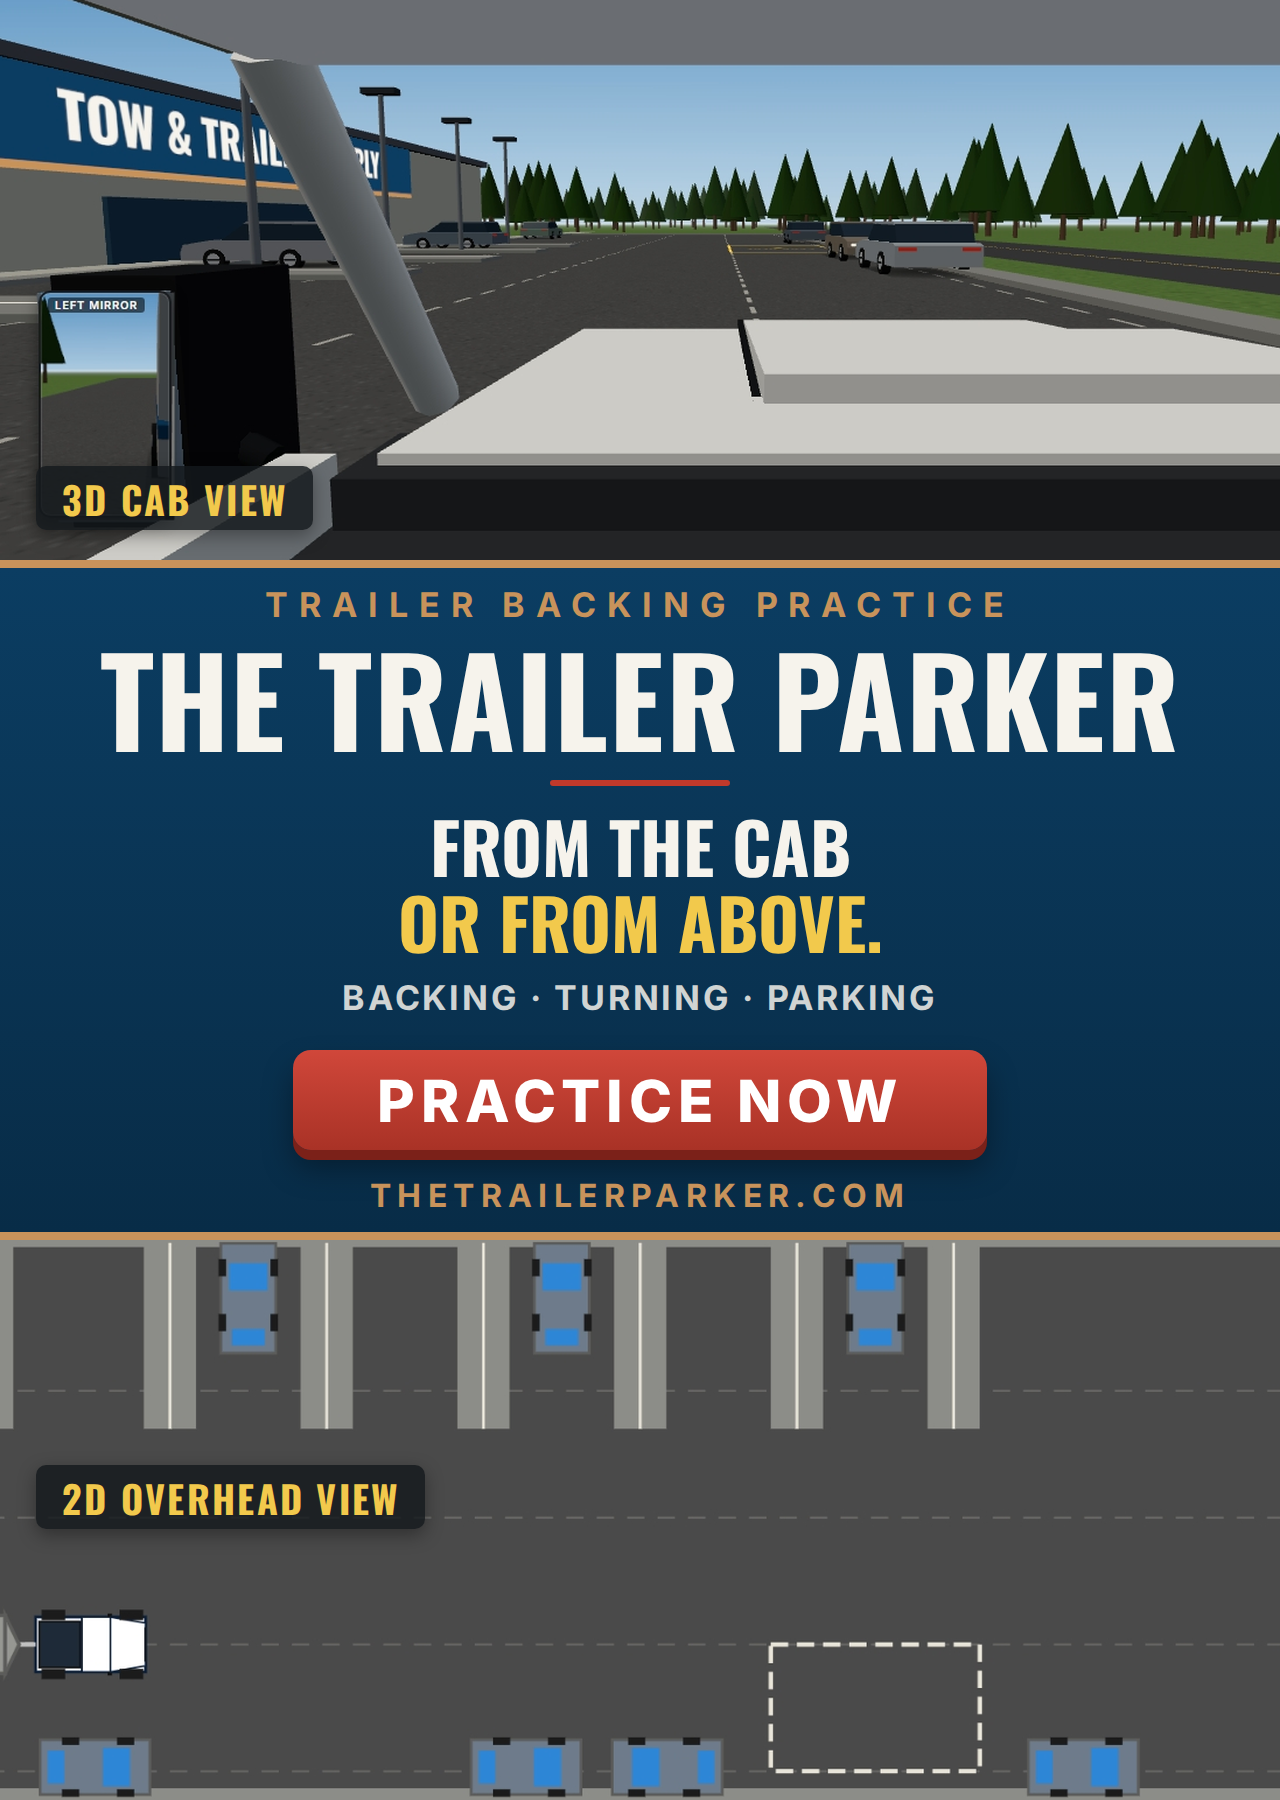
Backing a trailer into a tight space looks easy until you’re the one behind the wheel, watching it swing the wrong way while someone waits. That’s the problem The Trailer Parker solves — a free browser-based simulator for practicing truck-and-trailer backing without denting a fender or blocking traffic.

Start by picking your challenge: nine lot layouts, from a forgiving Standard Lot to a Pedestrian Crossing, a Lot with Bollards, three levels of Moving Traffic, or a full Obstacle Course. Then match your rig to your real-world experience — or make it harder on purpose — with three trailer weights: Light (utility hauler), Medium (car hauler), or Heavy (boat hauler).

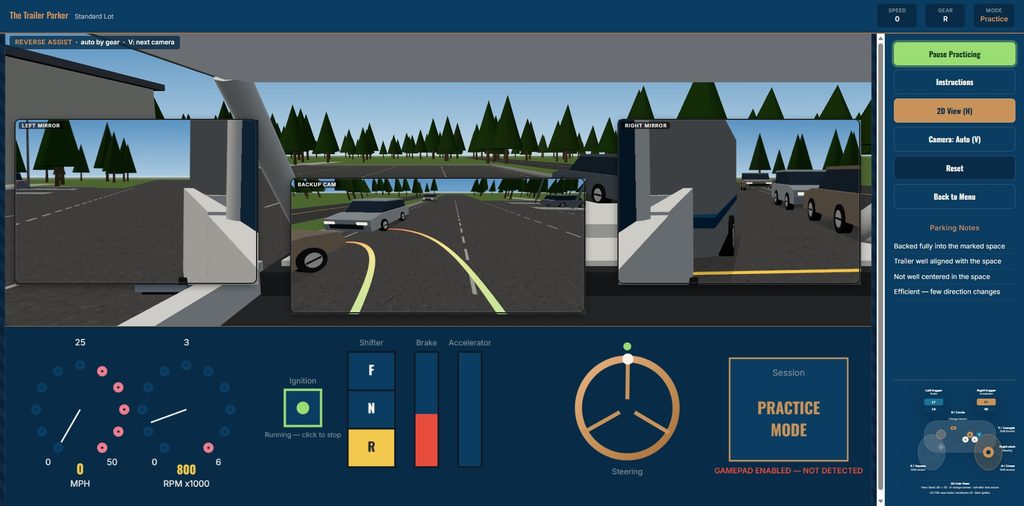
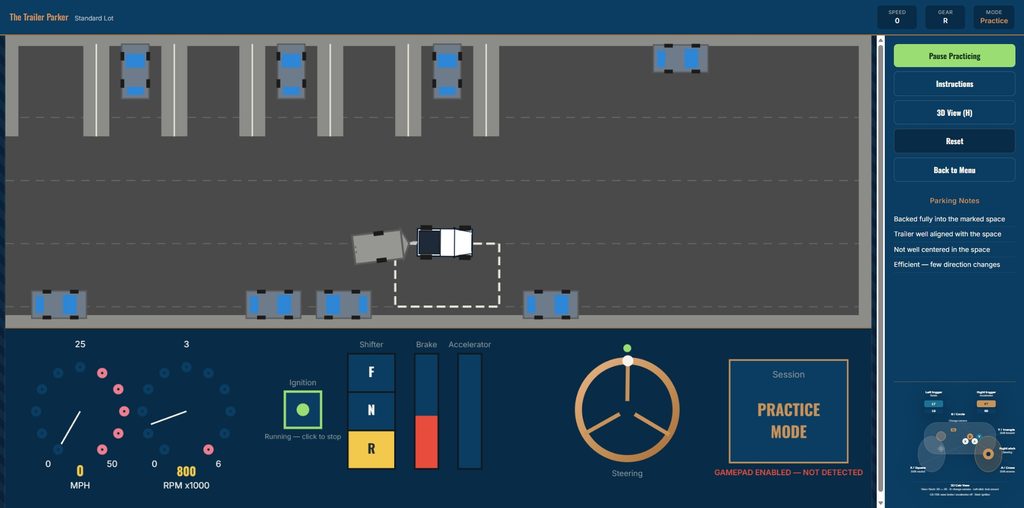
Once you’re in the seat, everything behaves like a real vehicle. Turn the ignition, ease onto the throttle, and watch the RPMs climb through a genuine engine model. Steer with a three-turn, lock-to-lock wheel, shift between forward, neutral, and reverse only once stopped, and drive with keyboard, mouse, or a connected game controller.

Every attempt scores itself automatically: up to 100 points for getting fully within the space, staying aligned, centering yourself, and keeping direction changes to a minimum. Bank 100 cumulative points before the five-minute clock runs out, and you’ve passed.

Whether you’re a new driver building confidence or a seasoned trucker looking for a warm-up, The Trailer Parker gives you unlimited attempts and zero real-world consequences. Fire it up and see how many points you can bank.

How Scoring Works in The Trailer Parker

The Trailer Parker runs on a different rhythm than a single graded maneuver: you get one continuous five-minute session, and the question is simply how many points can you back in before the clock runs out? You need 100 cumulative points to pass, and nothing stops you from backing in, pulling out, and doing it again as many times as there’s time for — every completed park adds to your running total.

The basic idea: faults live, each completed park scored on the spot

Like the shared scoring engine, this comes down to two kinds of events:

Faults get deducted the moment you make them. Clip a curb or island, knock over a bollard (or a cone, on the Obstacle Course), collide with a parked or moving vehicle, or strike the pedestrian — the points come off immediately and show up in your fault log in real time.

A completed park gets scored automatically, the instant you finish one. There’s no “Grade My Attempt” button to click mid-session — the moment the trailer is fully within the marked space, aligned to it, and essentially stopped, checkAttemptCompletion() recognizes it and banks the points right then. You keep driving afterward; pull back out and park again and it scores again.

Your live score is the running sum of every fault and every completed park’s bonus so far, floored at 0. When the five minutes are up, that cumulative total is your final score.

Scoring a completed park: 40/20/20/20

Every time you finish a park, it’s graded on the same four-category breakdown:

  • +40 — backed fully into the marked space, with no faults active
  • +20 / +10 — trailer well / roughly aligned with the space’s target heading (within 8° / 18°)
  • +20 / +10 — well / reasonably centered within the space
  • +20 / +10 — did it in 3 or fewer / 5 or fewer direction changes (forward/reverse shifts) since your last completed park

Pull out and go again, and the direction-change count resets — so lining up a second (or third, or fourth) park cleanly is scored fresh each time, independent of how the last one went.

Faults

These apply live, throughout the whole session, regardless of how many parks you’ve completed:

  • −10 — hitting a curb, lot boundary, or island
  • −10 — striking a bollard (or a cone, on the Obstacle Course)
  • −15 — colliding with a vehicle — a parked one, or the moving traffic vehicle on the lots that have it
  • −40 — striking the pedestrian (or the jogger, on the Obstacle Course)

Each fault type only logs once per new contact — leaning on an obstacle or resting against a curb doesn’t spam the log every tick, only the moment you first touch it. Any contact also bleeds off your speed, so plowing into something costs you momentum on top of the points.

What changes from lot to lot

The lot you pick (from the Setup page) changes what you’re navigating around, not how scoring works — the fault categories and the 40/20/20/20 park breakdown are identical everywhere:

  • North Row / South Row / Standard Lot — straightforward layouts with islands and parked vehicles to navigate between.
  • Lot with Bollards — adds fixed posts as an extra obstacle.
  • Pedestrian Crossing — a pedestrian wanders the lot (click anywhere to send them walking there), adding a live, less predictable hazard.
  • Slow / Medium / Fast Moving Traffic — a vehicle continuously drives through the lot at one of three speeds, on top of the usual parked-vehicle and boundary hazards.
  • Obstacle Course — a proper slalom: alternating cones to weave through, finishing with a narrow two-cone gate, plus a jogger crossing partway along. Bollard hits here are logged (and shown) as knocked-over cones instead.

Tow weight (Light/Utility, Medium/Car Hauler, Heavy/Boat Hauler) is a difficulty setting, not a scoring one — a heavier trailer accelerates and brakes more sluggishly, but the point values above don’t change based on what you’re towing.

Ending the session

The five-minute clock only starts once you click “Start Practicing” — warming up the engine and getting oriented beforehand doesn’t cost you any time. Pausing (or the instructions modal auto-pausing for you) freezes everything, faults and the clock included, until you resume. When time runs out, your cumulative score — every fault and every completed park added together — is locked in as your final result, checked against the 100-point pass threshold.